
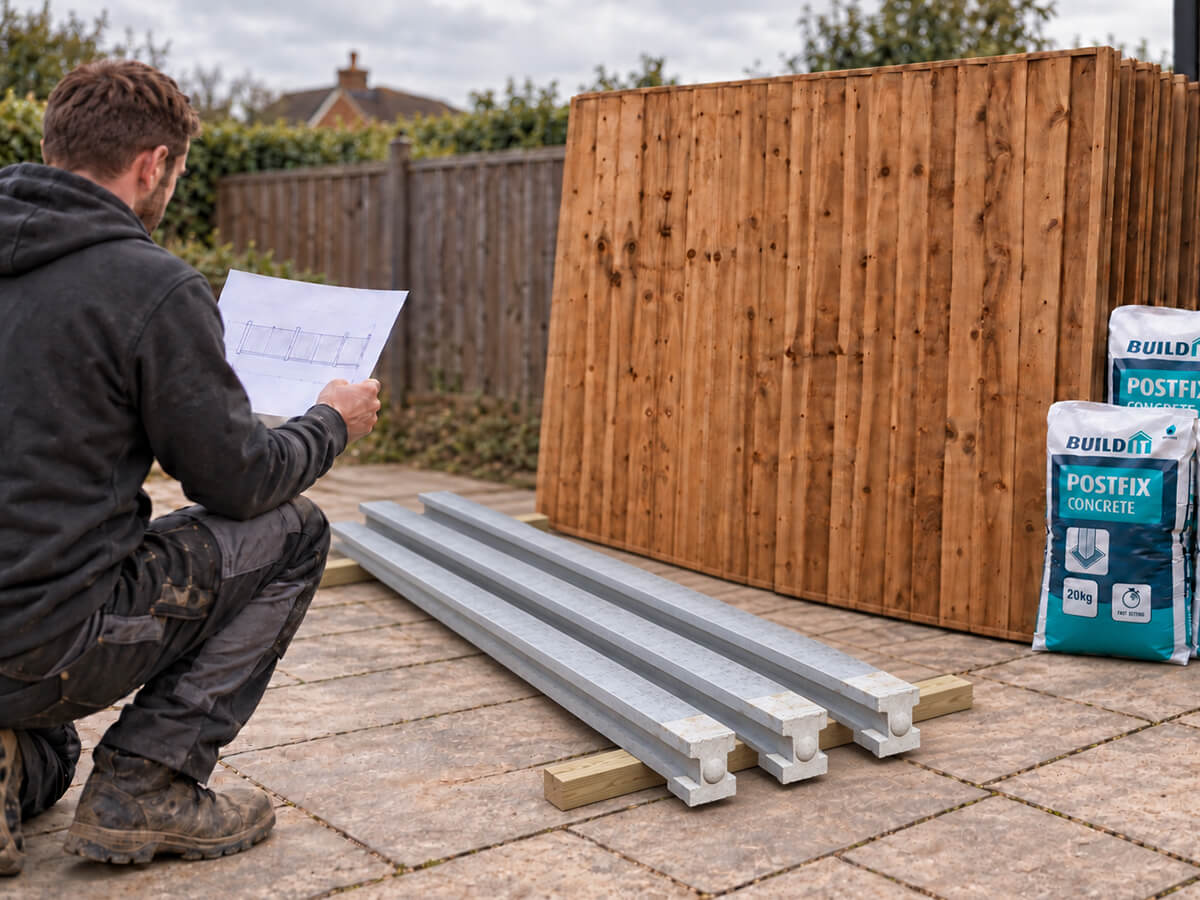
How to Install a Domestic Timber Fence – A Step-by-Step Installation Guide
A concrete posts-and-panel fence is a durable, low-maintenance boundary system for gardens, housing developments and commercial premises. Steel-reinforced concrete posts will not rot at ground level, while concrete gravel boards keep timber fence panels clear of damp soil and standing water. Because each component slots into the next, individual panels can also be replaced without rebuilding the complete fence line.
Correct setting-out matters more than speed. A small error at the first post can become a significant misalignment over a long run, so establish the boundary, ground level and post positions before mixing or pouring anything. This guide explains how to install a typical system using Nationwide Fencing Supplies slotted concrete posts, 1829mm concrete base panels and timber fence panels.
Before you begin
Confirm that the fence is being erected inside the correct boundary and agree any shared-boundary work with the relevant neighbour or landowner. Check title plans, covenants, site restrictions and local planning requirements before removing an existing fence.
In England, a fence beside a vehicle highway or its footpath will generally require planning permission if it exceeds 1m; elsewhere the usual permitted limit is 2m. Different rules or additional controls can apply to listed buildings, conservation areas and particular properties, so check with the local planning authority when uncertain. See the Planning Portal guidance for fences, gates and garden walls.
Locate underground electricity cables, gas pipes, drainage and other services before digging. Do not assume that services follow a predictable route or depth. The Health and Safety Executive advises checking plans, locating and marking services, and using safe digging practices. See HSE guidance on excavation and underground services.
Choose the correct components
Nationwide Fencing Supplies stocks different post configurations so the slot faces the direction of each fence run:
· Intermediate slotted posts for straight runs between two panels.
· End slotted posts where a run terminates against open ground, a building or a separate gate arrangement.
· Corner slotted posts where the fence changes direction.
· Three-way slotted posts where three fence runs meet at a T-junction or more complex intersection.
Concrete base panels are available in 1829 × 50 × 150mm and 1829 × 50 × 300mm sizes, including plain, rock-face and woven finishes. Select a timber panel height that produces the required overall fence height when combined with the gravel board. For example, a 1500mm timber panel above a 300mm base panel creates an approximate 1800mm fence before allowing for installation tolerances and the finished ground line.
What you will need
· Slotted concrete posts in the correct intermediate, end, corner and three-way configurations
· 1829mm concrete gravel boards in the chosen height and finish
· Compatible 6ft-wide timber fence panels
· Fast-setting Postfix concrete or a suitable site-mixed concrete specification
· String line, stakes, tape measure, long spirit level and marker
· Spade, fencing graft or post-hole digger, plus a digging bar where appropriate
· Timber battens and stakes for temporary bracing
· Timber spacers or blocks to support components during alignment
· PPE suitable for excavation, concrete handling and heavy lifting
Handling and safety
Concrete posts and gravel boards are heavy and awkward rather than simply dense. A 6ft × 1ft rock-face base panel is listed at approximately 55kg, so use a suitable two-person or mechanical lifting method and plan where each item will be placed before lifting. Wear gloves, safety footwear and eye protection. Follow the Postfix instructions and avoid skin contact with wet cement, which can cause serious burns.
Step-by-step installation
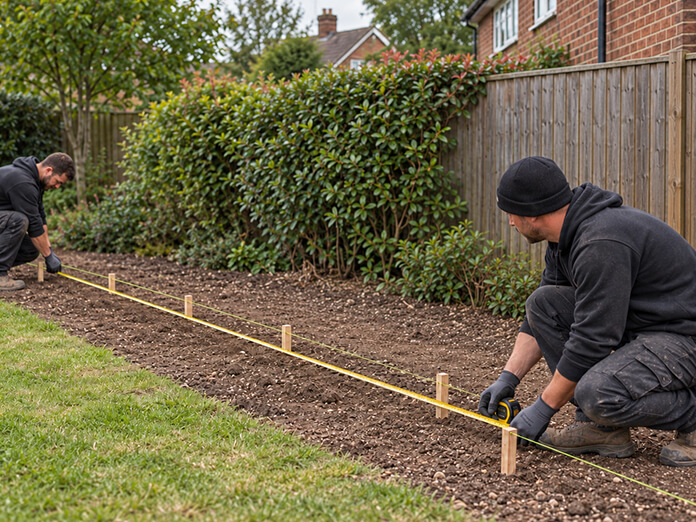
1. Establish the fence line
Mark the exact start, finish, corners and gate openings. Drive stakes beyond the ends of the working area and pull a tight string line along the intended face of the posts. Keep the string clear of excavation and use it as the consistent reference for the complete run. Check that the proposed fence stays within the agreed boundary.
2. Confirm the finished height
Identify the highest and lowest points and decide whether the top of the fence will follow the ground, run level or step between bays. Measure the combined height of the selected gravel board and timber panel. Do not inadvertently exceed the intended or permitted fence height by adding a gravel board beneath an already full-height panel.
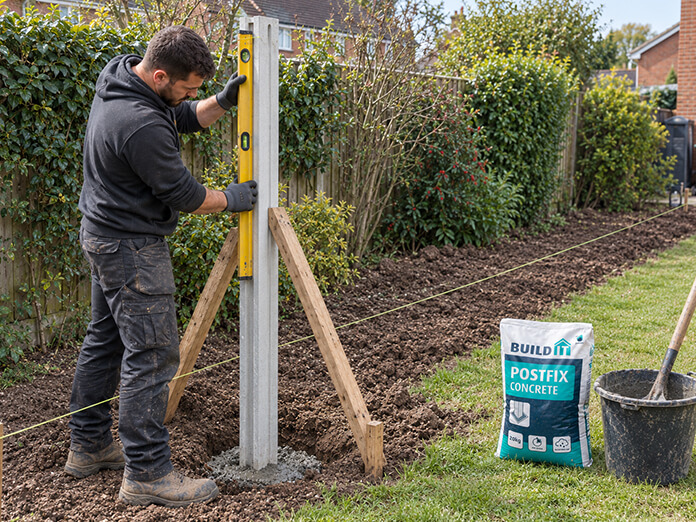
3. Mark the post positions
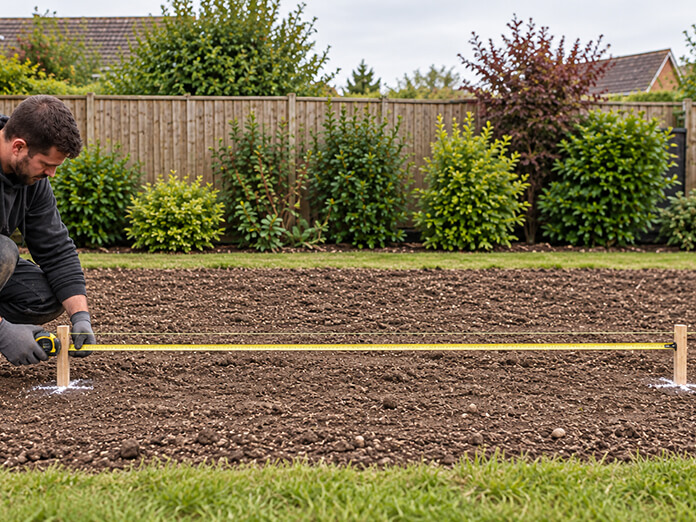
Use the actual post, base panel and timber panel as the setting-out reference. Nationwide’s base panels are 1829mm long, but the post centre-to-centre measurement must also allow for the post profile and the depth of the moulded slots. Mark the first post and roughly mark the remaining positions, then confirm each bay as work progresses. This prevents small manufacturing and site tolerances accumulating along the run.
4. Excavate the first hole
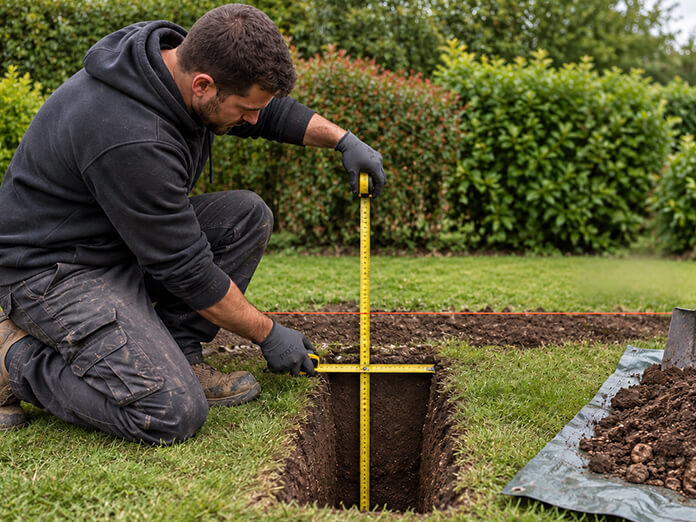
Dig a square, stable-sided hole large enough to position, adjust and surround the post with the required concrete. Around 600mm embedment is often used as a starting point for ordinary domestic fencing, but it is not a universal foundation specification. Fence height, post length, soil condition, wind exposure, nearby trees and changes in level may require a deeper or wider foundation. Obtain project-specific advice for exposed sites, made ground, unusually tall fencing or gate posts. Keep excavated sides intact and remove loose material and water before setting the post.
5. Position and brace the first post
Lower the correct end or corner post into the hole without dropping it. Align its face with the string line and use a spirit level on adjacent faces to make it plumb. Check that enough post remains above finished ground to accept the gravel board and panel while maintaining the intended top line. Brace the post securely in both directions so it cannot move while the concrete sets.
6. Concrete the post
Use fast-setting Postfix concrete in accordance with the instructions printed on the bag, including the specified water quantity, temperature range and sequence of application. Nationwide’s 20kg Postfix begins setting in approximately 5–10 minutes, so complete alignment checks before and immediately after placing it. The number of bags depends on the actual hole volume and the space occupied by the post; calculate from the product yield rather than assuming one bag per hole. Finish the concrete so water drains away from the post and do not disturb it before it has gained sufficient strength.
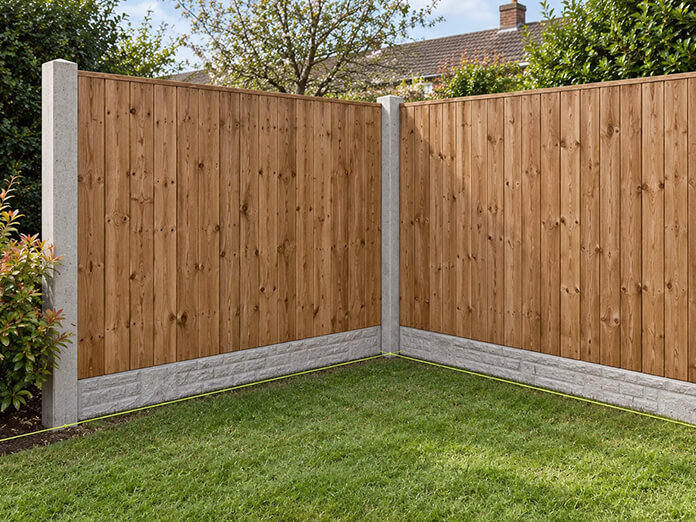
7. Set out the second post using the components
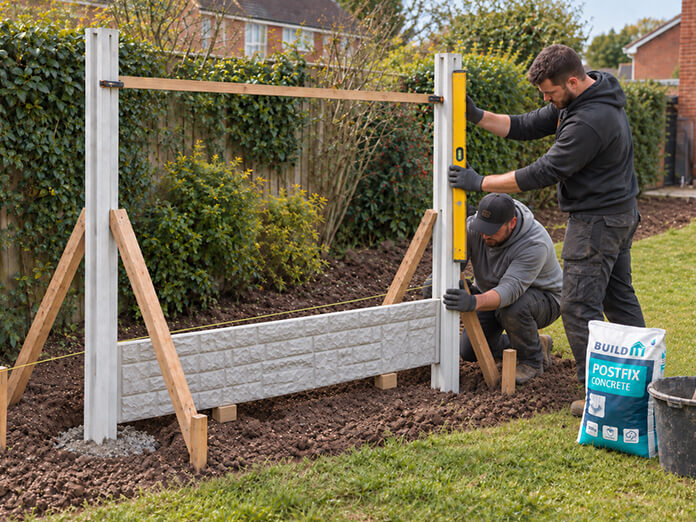
Excavate the second hole and loosely position the intermediate post. Slide the gravel board into the first post’s slot and support it level at the intended height. Use the actual panel or a rigid setting-out batten cut to the verified bay dimension to establish the second post position. Plumb and brace the second post, checking that the gravel board can move in the slots without excessive play or binding, then concrete the post.
8. Install the gravel board
Once the posts are sufficiently stable, lower the concrete gravel board evenly into the slots. Keep hands and feet away from pinch points and do not work beneath a suspended component. Check that the board is supported, level and not bridging over an obstruction. The timber panel should sit on the gravel board rather than directly on soil.
9. Fit the timber panel
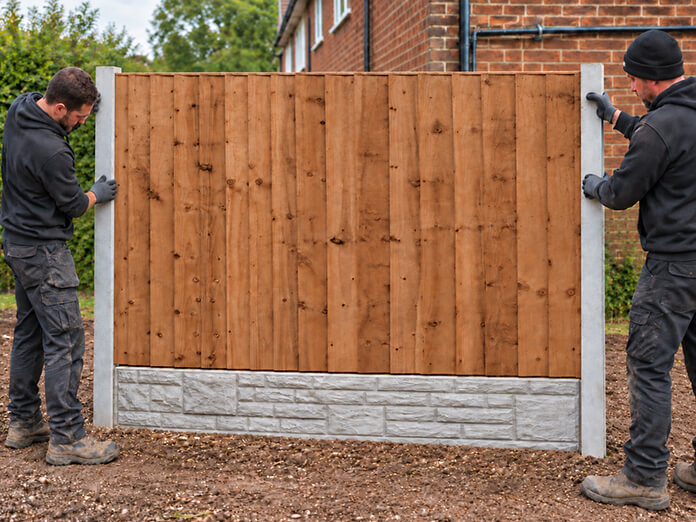
With suitable assistance, lift the timber fence panel above the posts and lower it evenly into both slots until it rests on the gravel board. Keep the panel upright so its edges do not jam or damage the timber. Check the top line, panel orientation and clearance. Decorative panels such as arched, concave, double-sided feather edge or hit-and-miss designs should face consistently along the complete boundary.
10. Continue one bay at a time
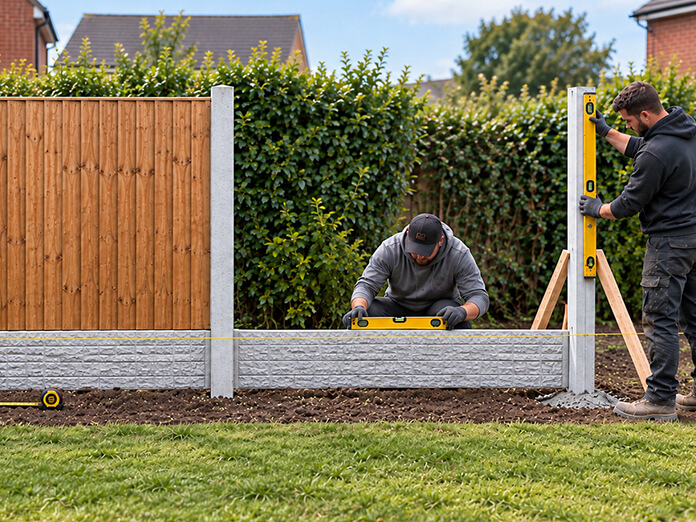
Repeat the sequence by using the installed components to confirm the next post position. Check every post for plumb, every gravel board for level and the string line for alignment before the Postfix sets. On a long run, periodically measure back to the original datum so small errors do not accumulate.
11. Form corners, ends and junctions
Use the correct moulded post rather than trying to force a straight-run post to perform another role. Corner posts accept panels in two directions, three-way posts form T-junctions and end posts produce a controlled termination. Re-establish the string line after every change in direction. Plan gates independently because gate posts and foundations must carry opening, closing and wind loads that ordinary intermediate posts are not intended to support.
12. Complete the final checks
Allow concrete to cure in accordance with its instructions before removing braces or applying additional load. Confirm that posts remain plumb, panels are seated correctly, gravel boards are stable and no timber is in contact with the ground. Remove spoil and concrete residue, reinstate the surface around each post and inspect the fence after the first period of severe weather.
Installing on sloping or uneven ground
A stepped arrangement is normally the simplest method with rigid 1829mm gravel boards and pre-made timber panels. Keep each bay level, then change height at the next post. This produces small steps along the top and bottom of the fence. Ensure every gravel board remains properly supported and avoid leaving a large opening beneath a panel.
A raked fence that follows the gradient requires components designed or modified for that purpose and is rarely achieved by forcing standard rectangular panels into slotted posts. On steep or irregular ground, ask an experienced installer to confirm post lengths, foundation requirements and how level changes will be managed before ordering.
Common installation mistakes
· Setting every hole from a nominal measurement without checking the actual components.
· Failing to allow for the gravel board when calculating total fence height.
· Concreting several posts before checking their slots, levels and alignment with a panel or setting-out batten.
· Using an intermediate post at a corner, termination or three-way junction.
· Allowing wet concrete, excavated soil or landscaping material to hold moisture against timber panels.
· Assuming all post holes need the same depth despite changes in soil, ground level or exposure.
· Installing ordinary intermediate posts where the concentrated loads of a gate require a suitable gate-post arrangement.
· Attempting to lift concrete posts or gravel boards without sufficient people or suitable handling equipment.
Frequently asked questions
Q. How far apart should concrete fence posts be?
A. The spacing is determined by the actual panel or gravel-board length plus the post profile and slot engagement. Nationwide’s concrete base panels are 1829mm long, but do not simply mark every hole at 1829mm centres. Set the first bay with the components or a verified setting-out batten, then repeat that confirmed dimension.
Q. How deep should a concrete fence post be installed?
A. Approximately 600mm embedment is commonly used as an initial guide for standard domestic fencing, but the correct depth depends on fence height, post length, soil, exposure and loading. Taller fences, loose or made ground, exposed locations and gate posts may need larger foundations. If the site is unusual, obtain a project-specific recommendation.
Q. Should a timber fence panel touch the ground?
A. No. The concrete gravel board forms the durable lower section and keeps the timber panel away from soil and persistent moisture. This reduces the risk of premature rot and makes future panel replacement easier.
Q. Can I use a 6ft panel with a 1ft gravel board?
A. Only if the resulting overall height is suitable and permitted. A nominal 6ft timber panel above a nominal 1ft gravel board creates a fence of roughly 7ft, subject to installation tolerances. For an overall height of about 6ft, a 5ft panel is normally paired with a 1ft gravel board, or a 5ft 6in panel with a 6in gravel board.
Q. How much Postfix is required for each post?
A. It depends on the excavated hole dimensions, post section and product yield. Calculate the concrete volume around the post and follow the coverage information on the Postfix packaging. Irregular or oversized holes can use substantially more material, so inspect the excavation rather than relying on a fixed one-bag assumption.
Q. Can damaged timber panels be replaced later?
A. Yes. One advantage of slotted concrete posts is that a timber panel can usually be lifted out and replaced while the posts and gravel board remain in place. Allow enough safe lifting space above the fence and take care not to damage the post slots.
Order the complete post-and-panel system
Nationwide Fencing Supplies manufactures and supplies concrete fence posts, concrete base panels, timber fence panels, gates and Postfix for complete domestic and commercial boundary projects. Check the fence line, post configurations and combined panel height before ordering; if the layout includes corners, junctions, significant slopes or gates, contact the team for practical product guidance.
Editorial and technical note
This guide provides general installation information only and does not replace a site survey, structural design, manufacturer’s instructions or advice from a competent professional. Ground conditions, wind exposure, fence height, intended use and local restrictions may affect the required post and foundation specification. Product dimensions, specifications and availability should always be checked against the current Nationwide Fencing Supplies product listings before ordering or installation. Some images in this guide are AI-generated and are provided for illustrative purposes only; they may not depict the exact products, proportions, installation details or site conditions.